Select an image to see a full-size view.
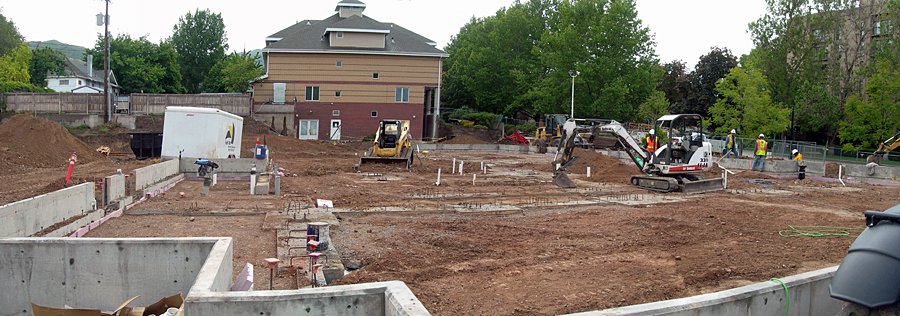
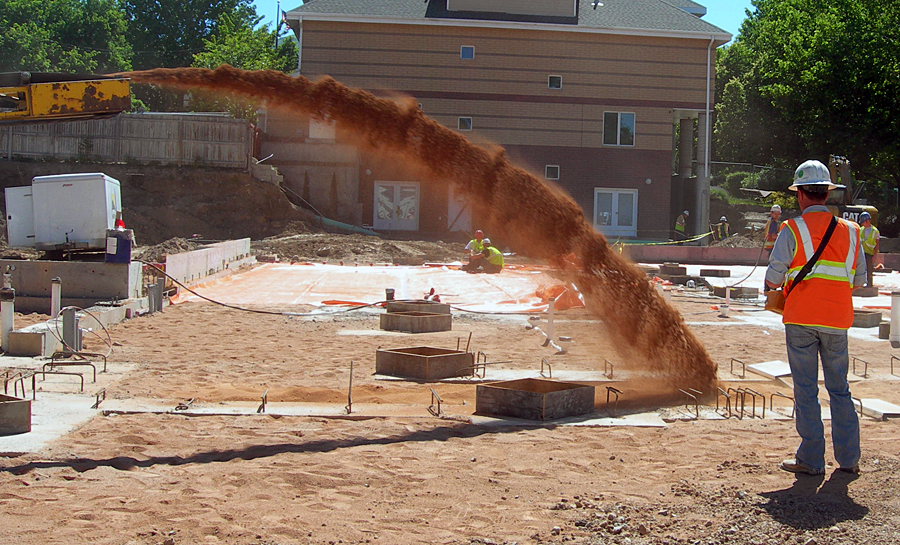
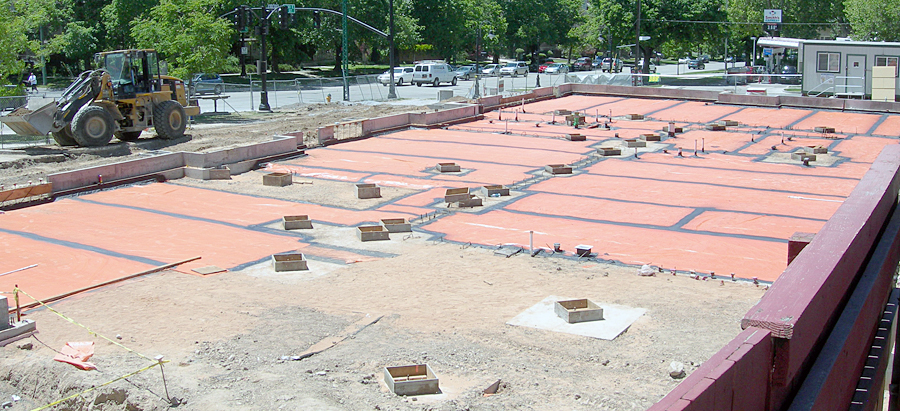
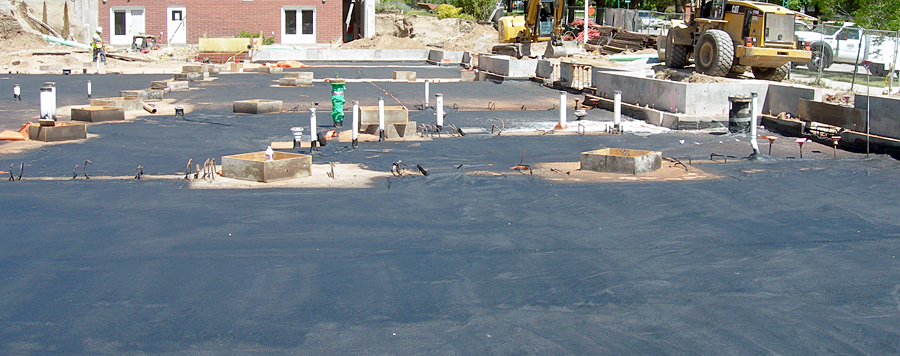
Before Vapor Barrier Installation Begins
A look at the site before vapor barrier installation.
![A look at the site before vapor barrier installation.](https://deq.utah.gov/wp-content/uploads/Ronald-McDonald-House-PreVaporInstall-Stitch.jpg)
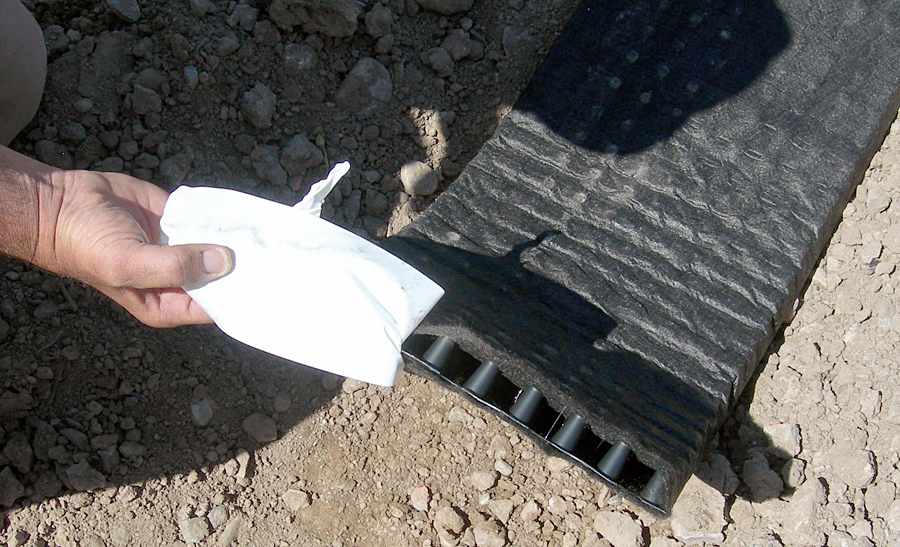
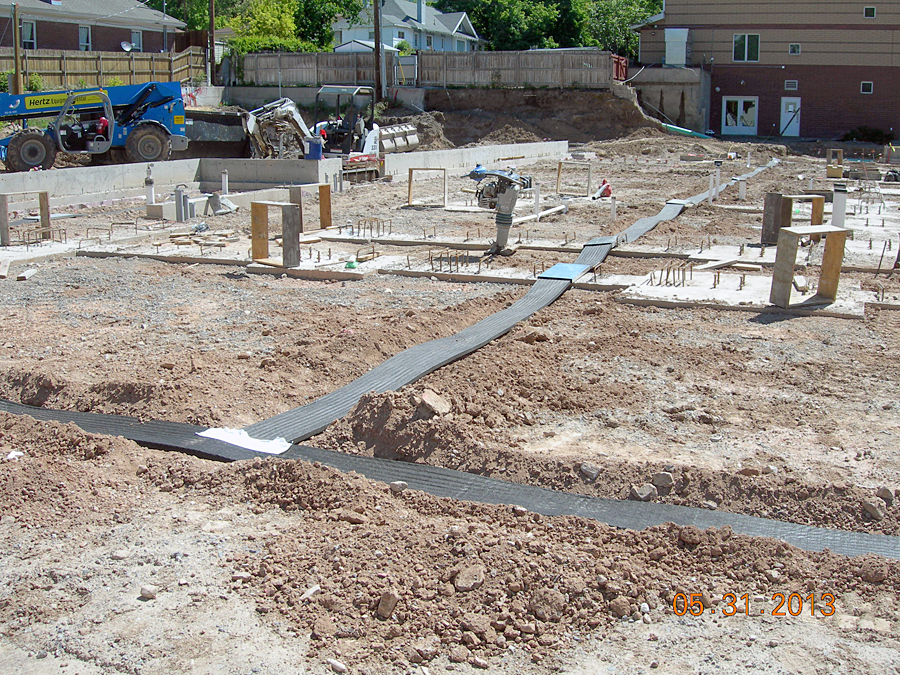
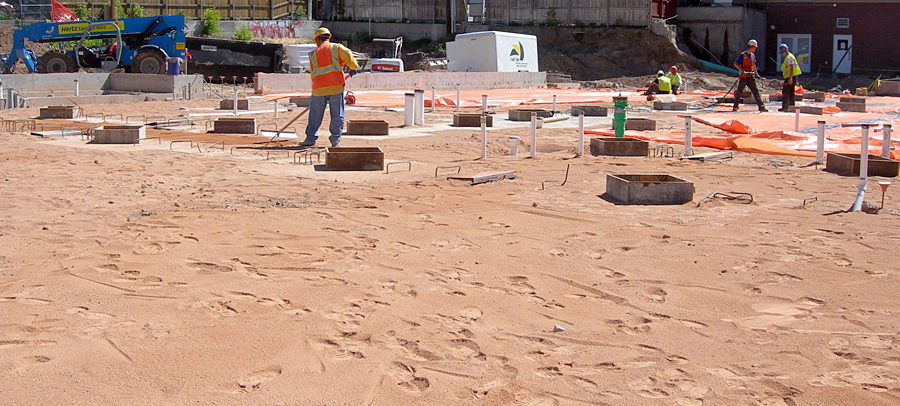
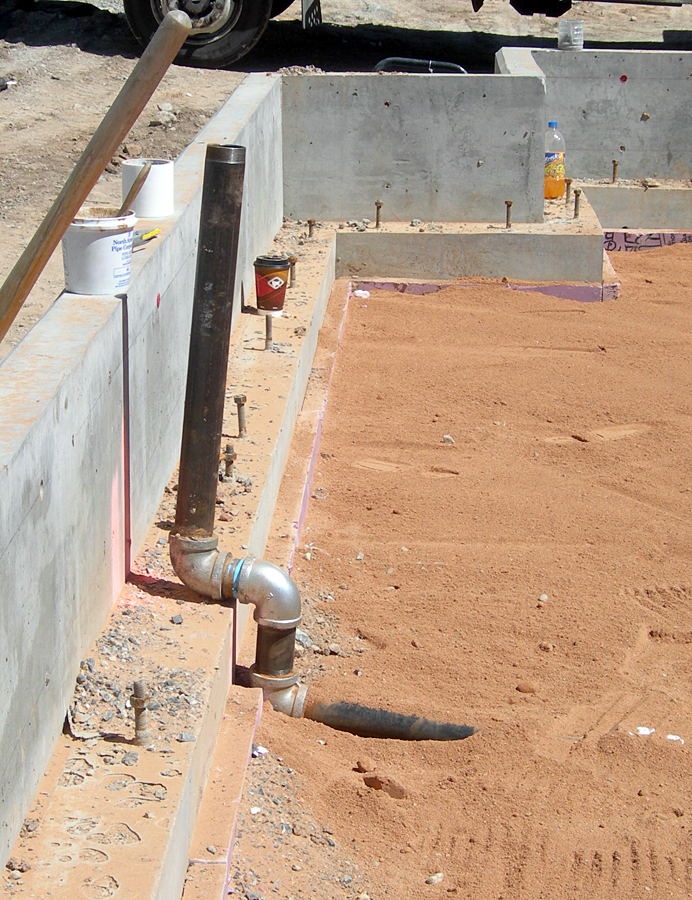
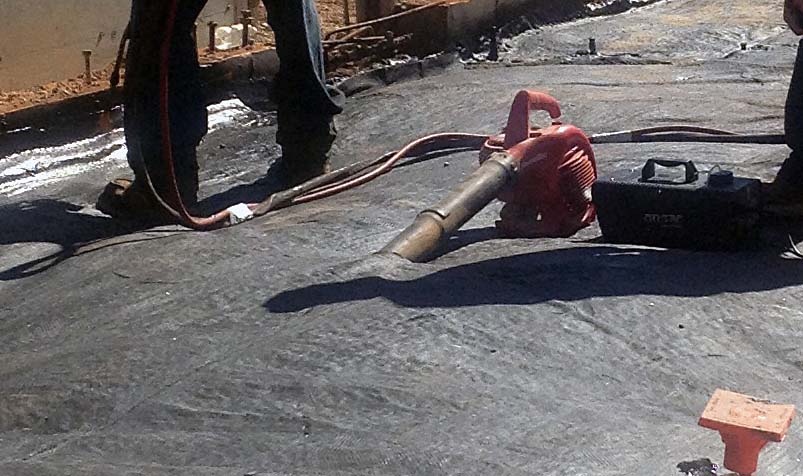
Day 1: Installation of Venting Beneath Concrete Floor
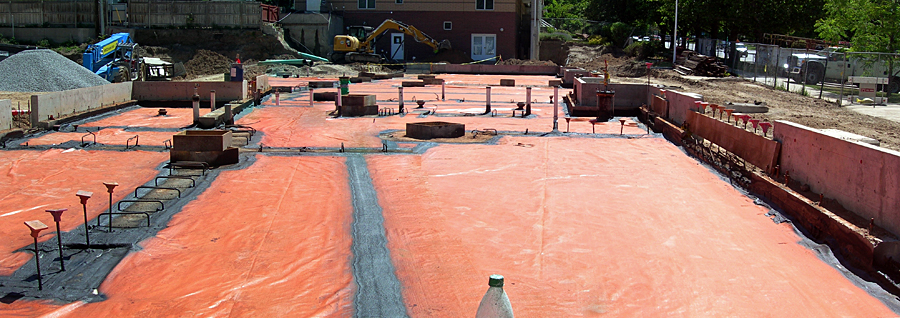
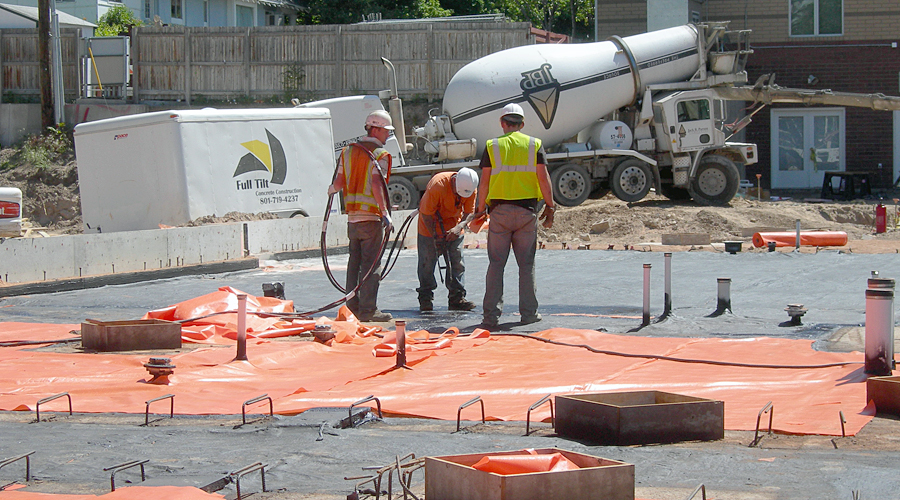
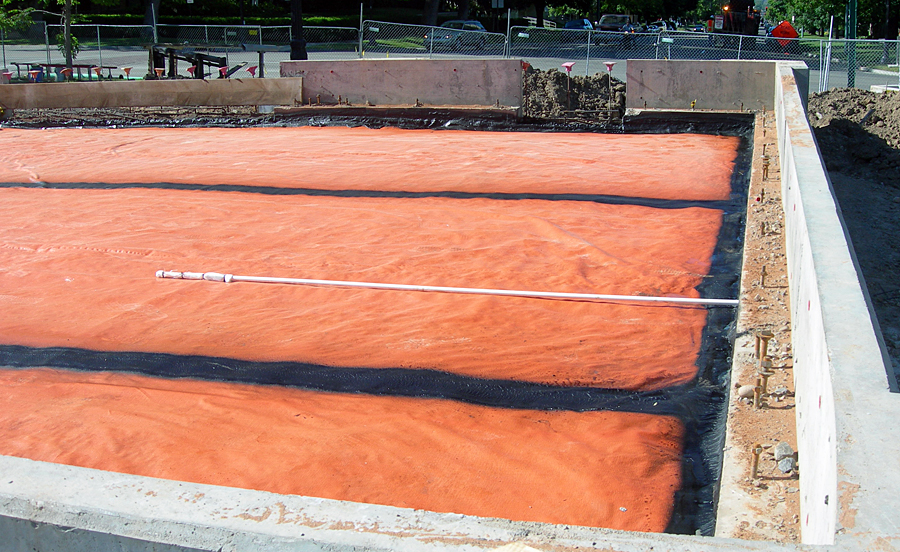
Day 2: Covering Venting Conduit with Sand and Initial Orange Liner
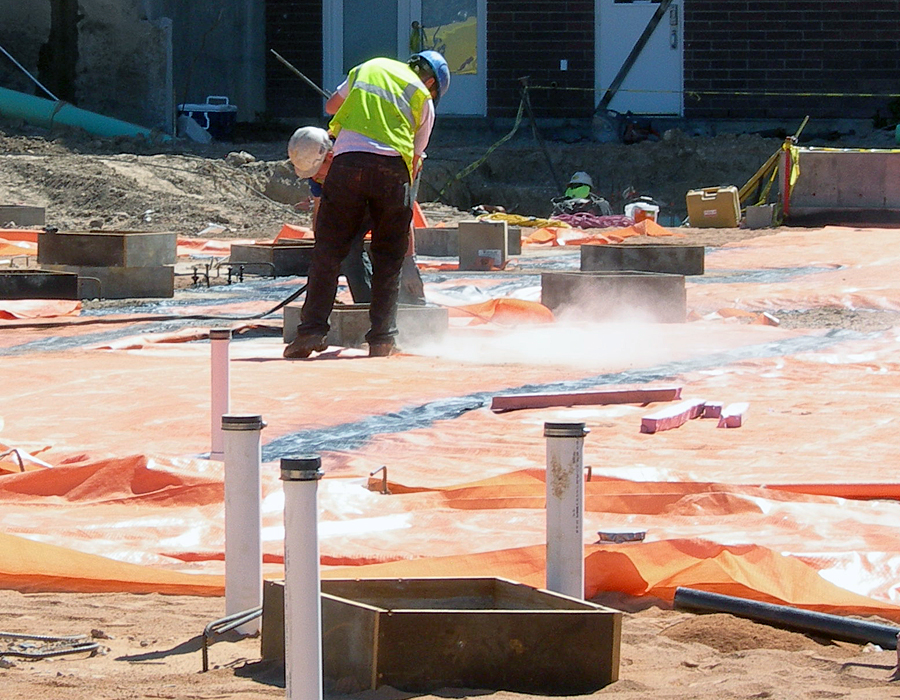
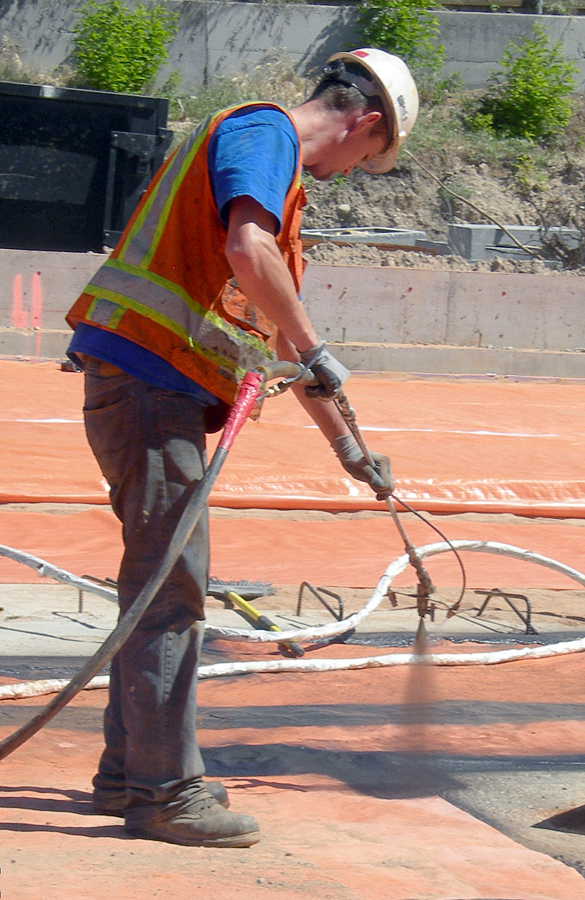
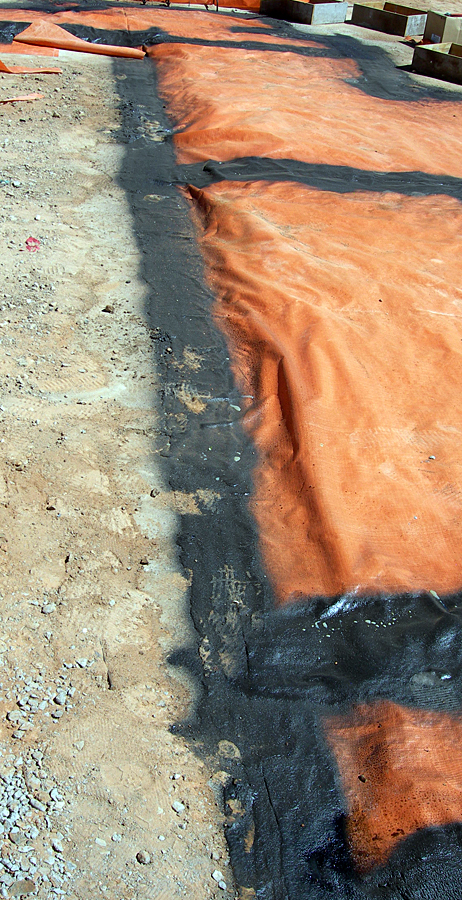
Day 3: Covering Orange Liner with Asphalt Material
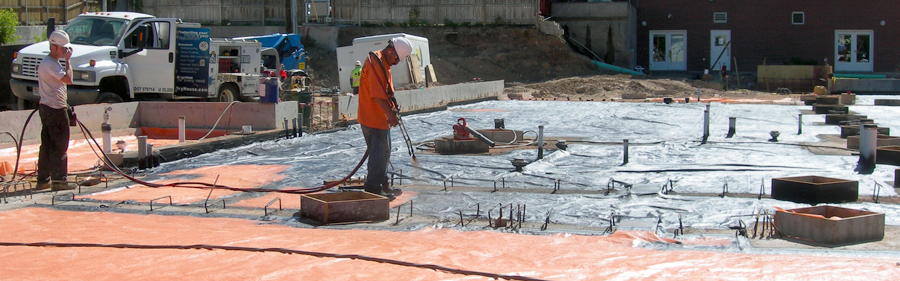
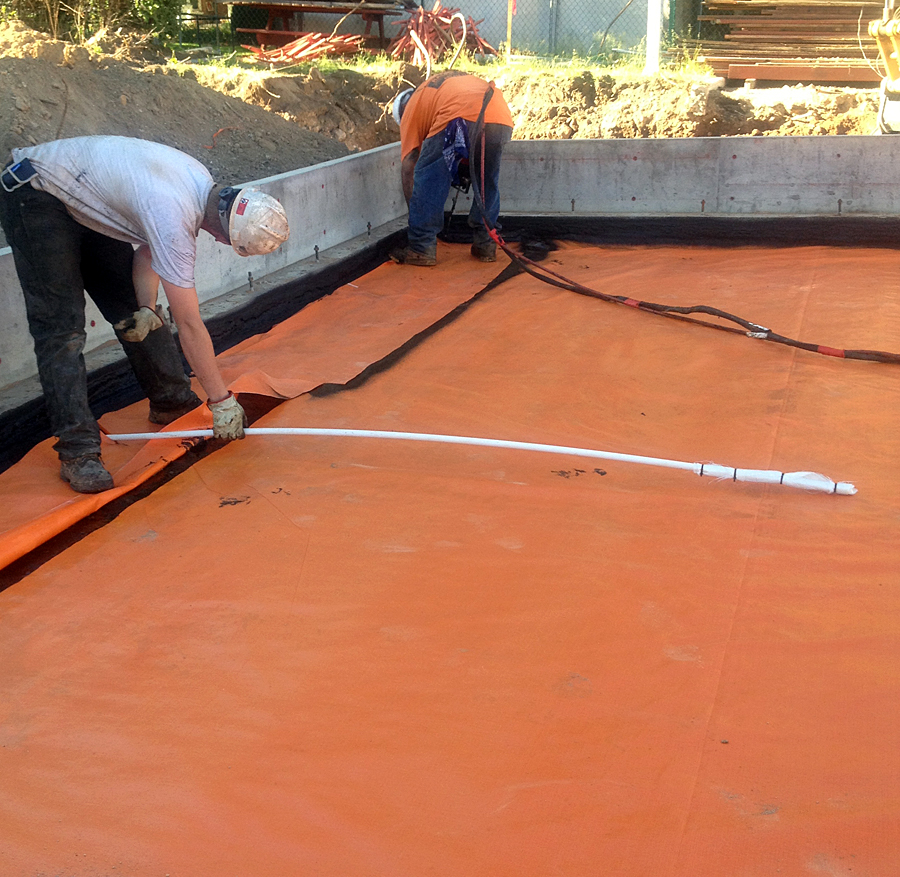
Day 4: Testing Vapor Barrier and Second Orange Liner
![The vapor barrier is tested using a "smoke test," where smoke is injected through sampling ports (shown in following photos) through the foundation under the vapor barrier. A visual inspection is conducted to detect leaks in the vapor barrier.](https://deq.utah.gov/wp-content/uploads/Ronald-McDonald-House-smoke-test.jpg)
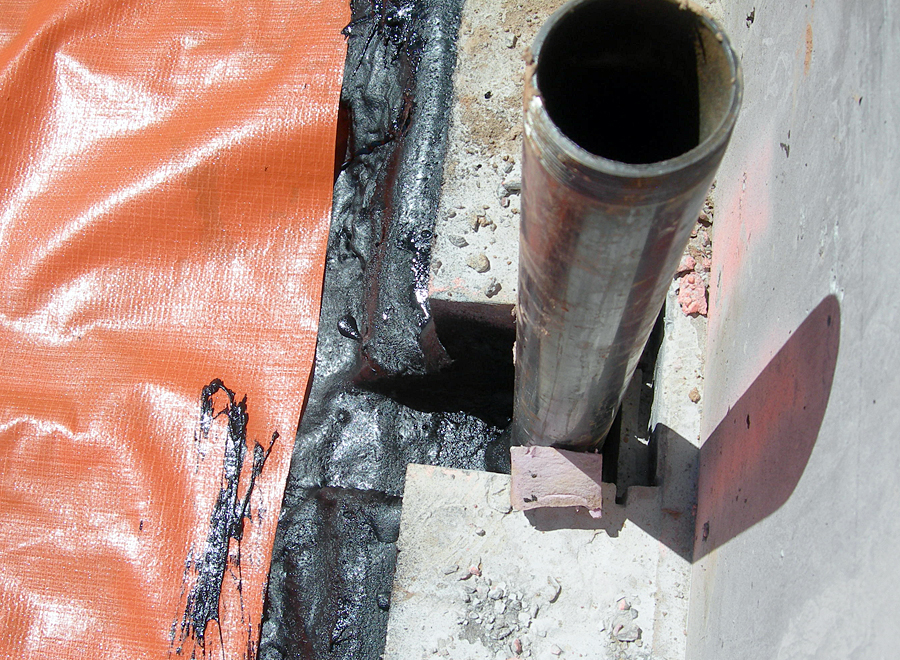
Day 5: Second Orange Liner Application Continued, and Vapor Sampling Port Completion
![Completion of an upper sampling vent port that will be on top of the vapor barrier and under the cement slab of the building. Sand will be poured over this vent pipe, and then concrete will be poured upon the sand.](https://deq.utah.gov/wp-content/uploads/Ronald-McDonald-House-vent-pipes2.jpg)
![Completed upper sampling vent port on the completed second liner. The liner seams have been sealed with asphalt material. The second liner layer is complete (it is not completely coated with asphalt material like the first liner layer) and sand will be placed on top of this second liner layer, and then concrete will be poured upon the sand.](https://deq.utah.gov/wp-content/uploads/Ronald-McDonald-House-2013-Day-5-003.jpg)